Knowing how to winterize your RV is essential for protecting your water system, tanks, and the entire vehicle from freezing temperatures. In this guide, we’ll walk you through how to winterize your RV step-by-step, including draining your pipes, bypassing the water heater, and using RV antifreeze safely. Following these RV winterization tips will keep your RV in top condition, save you from costly repairs, and ensure it’s ready for your next adventure.
Step 1: Empty Your RV Tanks
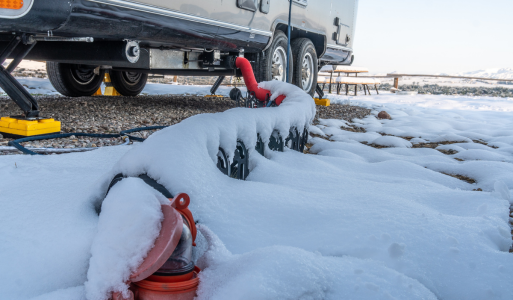
Frozen water expands, which can crack tanks, damage pipes, and lead to expensive repairs. To properly winterize your RV, start by draining the fresh, gray, and black tanks completely. If any areas are difficult to reach, use tank attachments to ensure everything is emptied. Next, carefully drain the water heater. Never attempt this while it is heated or pressurized. Open the relief valve and allow it to empty fully. Regularly performing this step is an important part of RV maintenance tips for long term care.
Step 2: Drain Your Pipes
Even after the tanks are empty, water can remain in your RV’s pipes. To prevent freezing damage, open all faucets inside and outside the RV, including kitchen and bathroom taps, as well as exterior spigots. Run the water pump to push out any remaining water, then close the faucets once the lines are completely dry. Taking the time to fully drain your pipes is critical for effective RV winterization.
Step 3: Bypass the Water Heater
Once the pipes are drained, bypass the water heater so RV antifreeze can flow through your hot water lines without filling the tank. Most RVs come with a bypass valve installed, but if yours doesn’t, a mechanic can help set one up. Bypassing the water heater also helps reduce the amount of antifreeze needed, making the process more efficient and environmentally friendly.
Step 4: Prep Your RV Antifreeze
Next, prepare your antifreeze. Connect a hose from the container to your RV’s water intake and confirm the antifreeze is safe for potable water systems. Using the correct RV antifreeze ensures you protect your RV water system without introducing harmful chemicals, which is especially important for health and safety during the winter months.

Step 5: Protect Your RV Water System with Antifreeze
With everything ready, close the faucets and turn on the water pump. Begin with the faucet nearest the pump, letting antifreeze run until it flows consistently. Repeat this for every faucet, working from hot water lines to cold, and don’t forget the toilet, shower, and any exterior faucets. Once antifreeze has filled the system, switch off the pump. Following these steps carefully will prevent your water system from freezing and cracking, a crucial part of RV winterization.
Extra RV Winter Storage Tips
In addition to winterizing your RV water system, take steps to protect the entire vehicle during the off-season. Use RV winter insulation to cover windows and vents, and whenever possible, store your RV in a dry, covered location. Remove perishables, keep the battery maintained, and check for any leaks or maintenance issues before storage. Following these RV winter storage tips ensures your vehicle stays in top condition and ready for adventure when the weather warms.
Conclusion
By following these steps on how to winterize your RV, you will protect your water system from freezing damage and keep your RV ready for adventure all year long. With the right preparation, your RV can withstand the winter months and continue to provide safe, comfortable travel experiences for years to come. Palisade Basecamp RV Resort encourages RVers to take the time for proper winterization and maintenance and to explore our other blogs for additional helpful information.
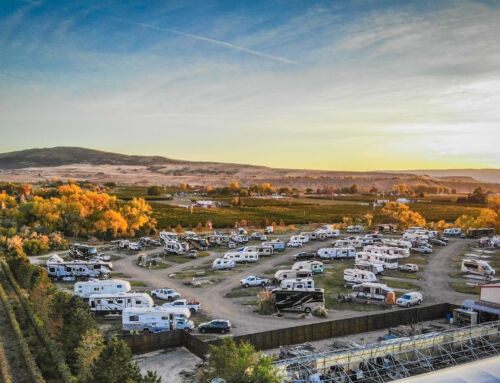
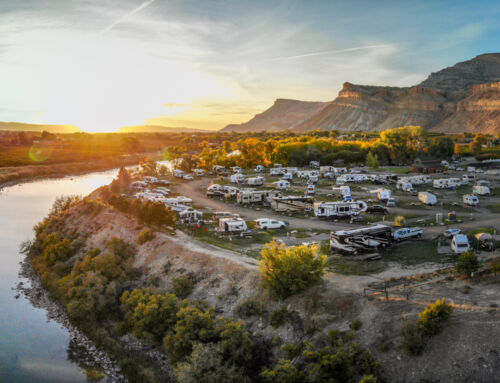
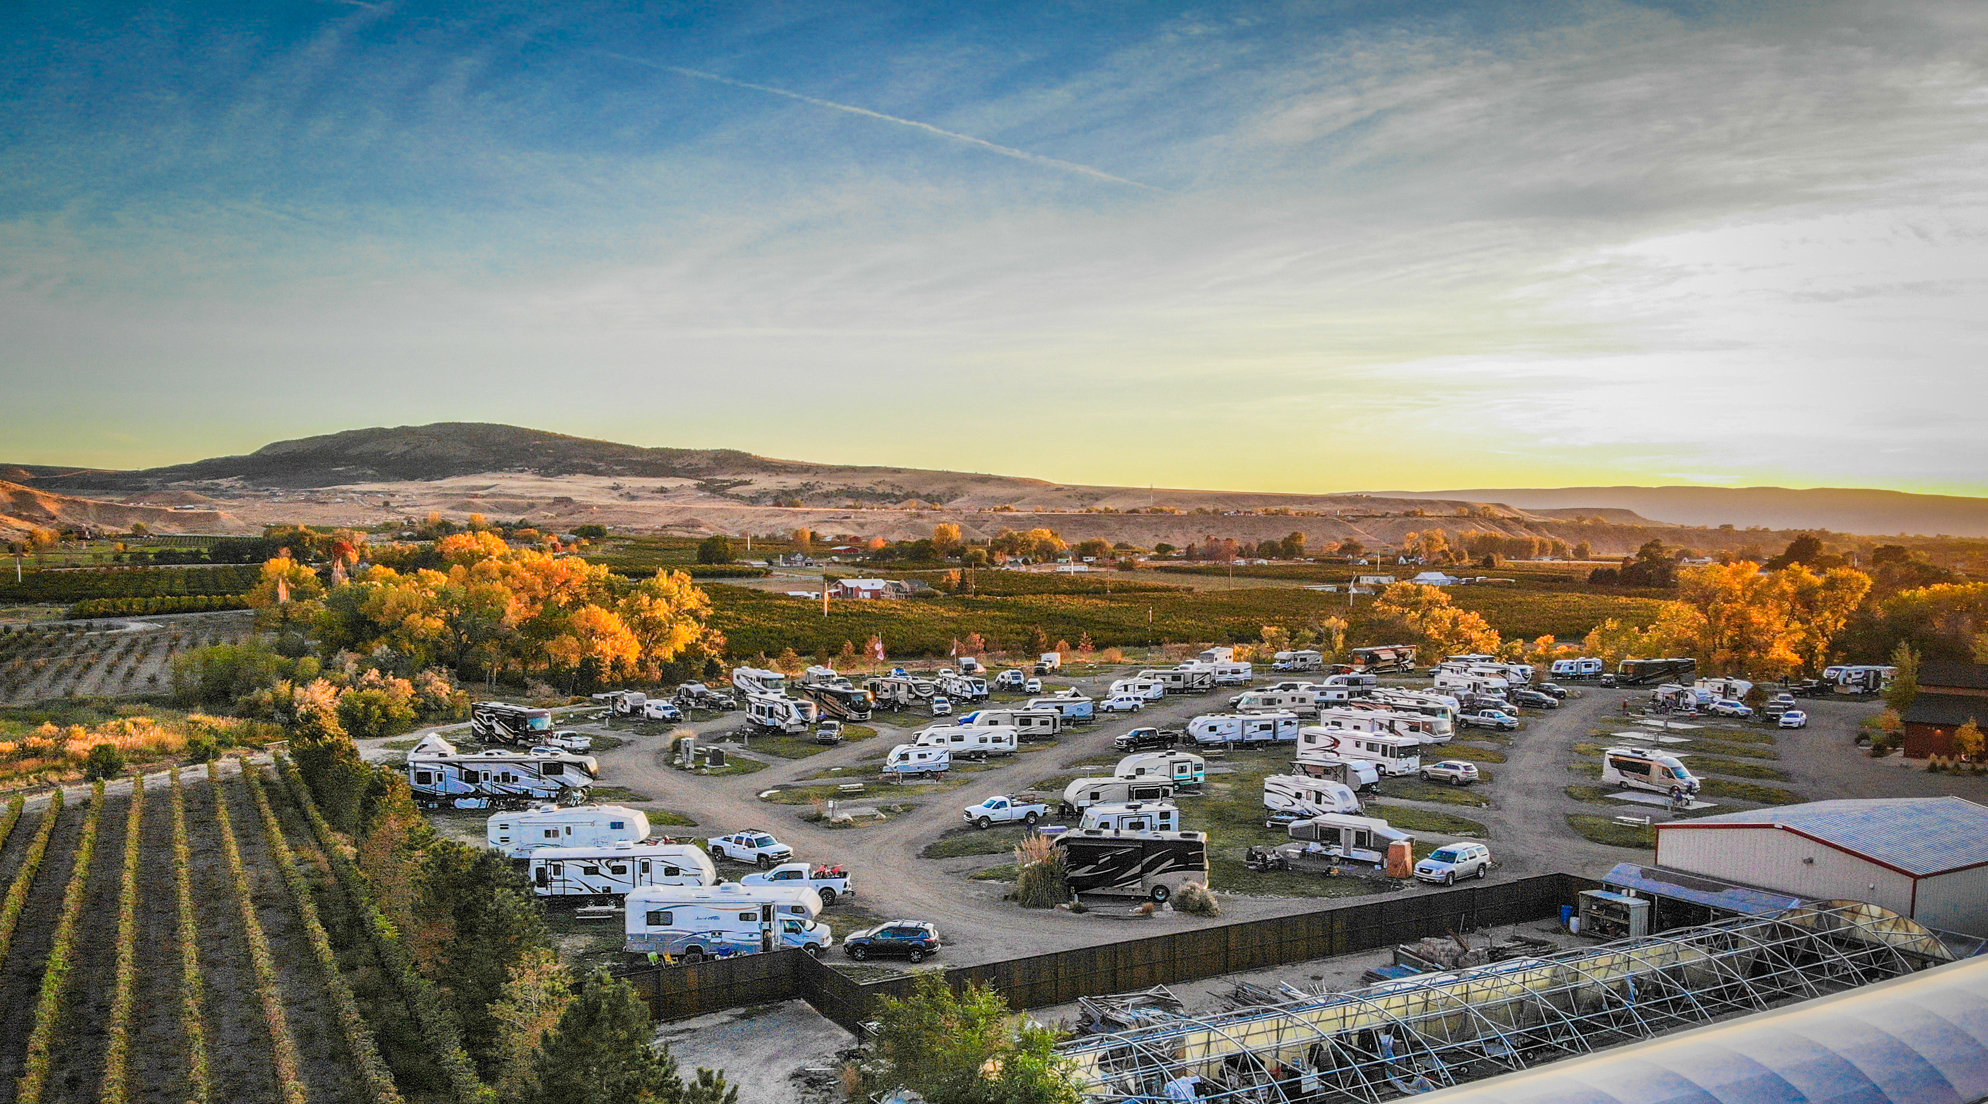
If you are not quite ready to winterize your RV, you can also explore the Set Your Basecamp Winter Program at Palisade Basecamp RV Resort. Instead of closing down and storing your camper for the winter, park your RV in the mild winter climate of Palisade, CO and use it as your personal winter “Basecamp,” with convenient access for monthly stays and nearby winter adventures.